Machined Surfaces
| Roughness measurements of machined surfaces are one of the most important measurement tasks for profilometers. Most surfaces have roughness’s of Ra 0.1 – 2 µm. According to ISO EN 21920, the measurement of these surfaces (Group Sc3) requires a standard measuring point distance of less than 0.5 µm and a profile length of 4 mm. It is also important that the measuring device used has a real resolution that corresponds to that of a stylus with a radius of 2 µm. While all 3D sensors in the smartWLI series have sufficient height resolution, at least 20x lenses should be used to achieve sufficient lateral resolution. An alternative is 50x lenses with subsampling. This means that the surface can be measured with sufficient resolution almost as quickly as with 20x lenses. In case of doubt, however, a significantly higher resolution can be achieved with full resolution than is the case with tactile measuring devices. | contact person: Matthias Liedmann phone: +49 (0) 3677-83710-54 email: sales@gbs-ilmenau.de |
 |
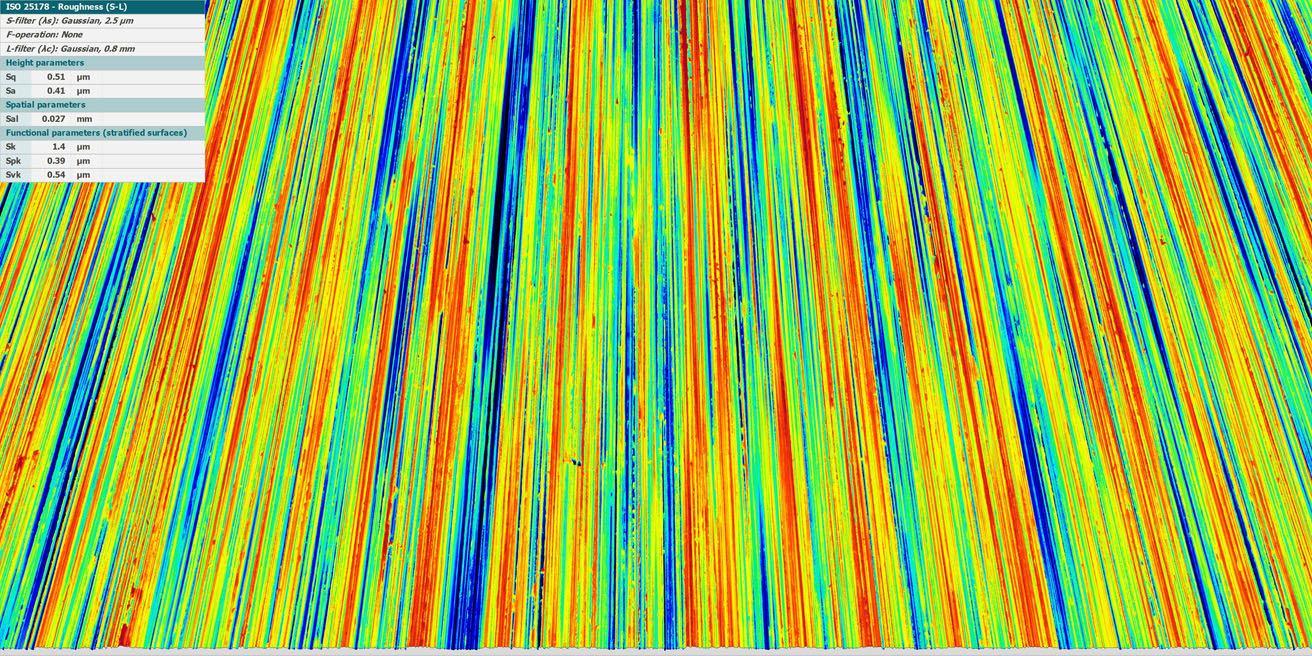
grind and finished surfaces
Grind surfaces are relatively rough. This means that it is sufficient to use cheaper sensors without piezo positioners. 20x or 50x lenses should be used for the meas-urements to achieve the necessary resolution for measuring finely structured surfaces.
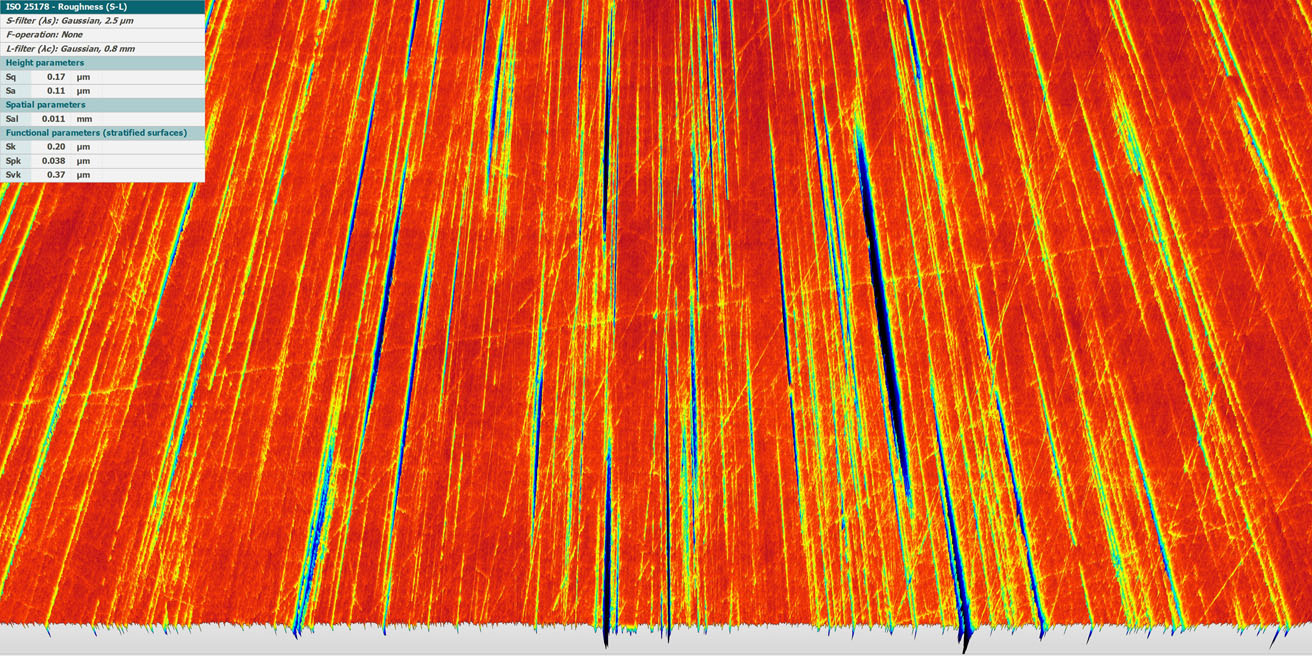
grind and finished surfaces
Plane finishing of the grind surfaces removes the peaks while leaving the valleys almost unchanged. This process fundamentally changes the functional properties of the surface. The change is visible in the bearing ratio curve and can be significantly evaluated using surface parameters such as Spk and Svk.
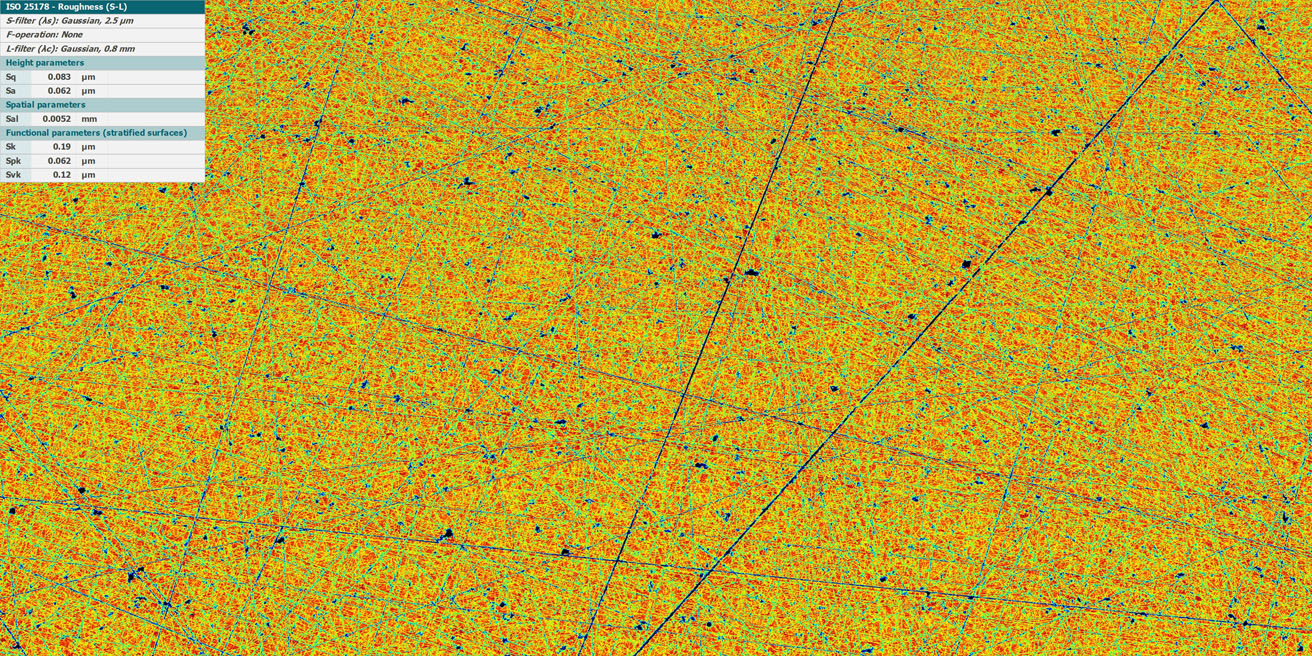
polished steel surface
Polishing processes can produce very smooth surfaces with very fine structures. When evaluating corresponding surfaces, the use of 50x lenses may be necessary and, for roughness values below Ra 5nm, the use of higher-resolution piezo sensors may be necessary.
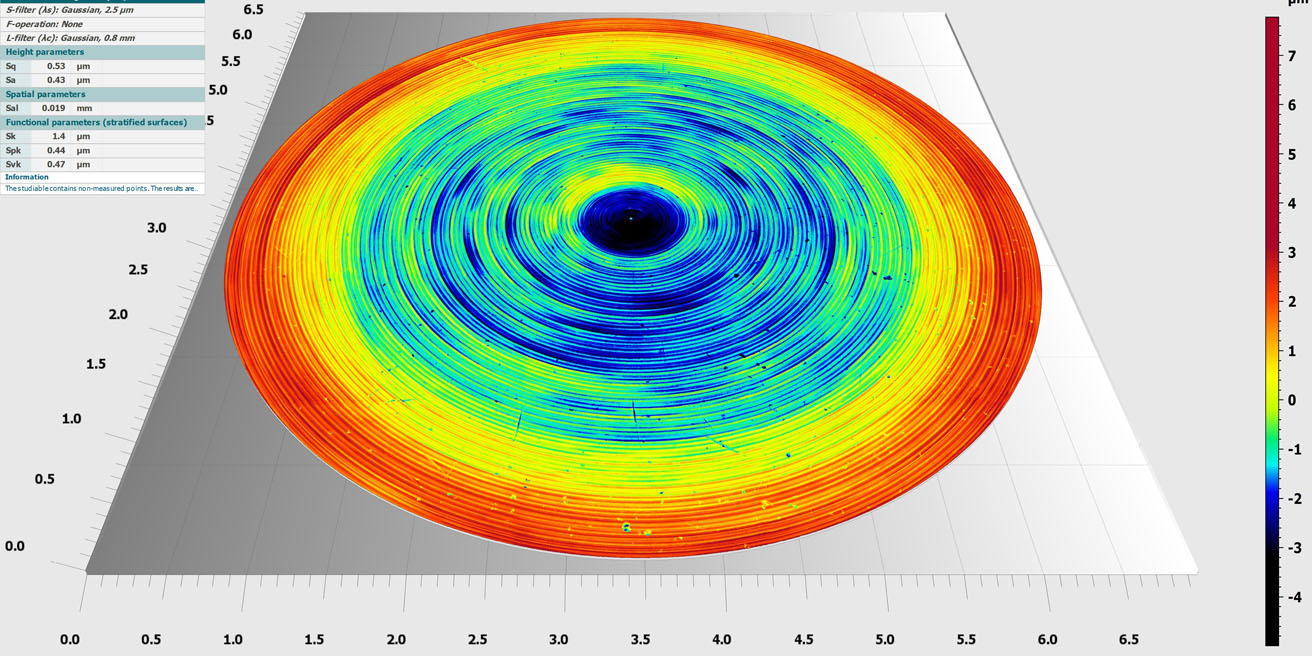
turned membrane
The thickness of the material is crucial for the function of the membrane and local grooves can impair its function. On the one hand, 20x lenses are used for roughness measurement in accordance with ISO 21920, and on the other hand, lenses with significantly lower magnification such as 2.5x are used for quick 100% inspection of the components for surface defects (scoring).


