Additive manufactured surfaces (3d printing)
| Different systems, materials and process parameters require precise control of the additively manufactured components or 3D printed surfaces. Simple measuring devices without piezo are sufficient to check the often very rough surfaces. Higher-resolution lenses with 20x or 50x magnification are used for detailed analysis of manufacturing processes. If surface defects must be detected over a large area, lenses with smaller dimensions can be used to shorten the measuring time. | contact person: Matthias Liedmann phone: +49 (0) 3677-83710-54 email: sales@gbs-ilmenau.de |
 |
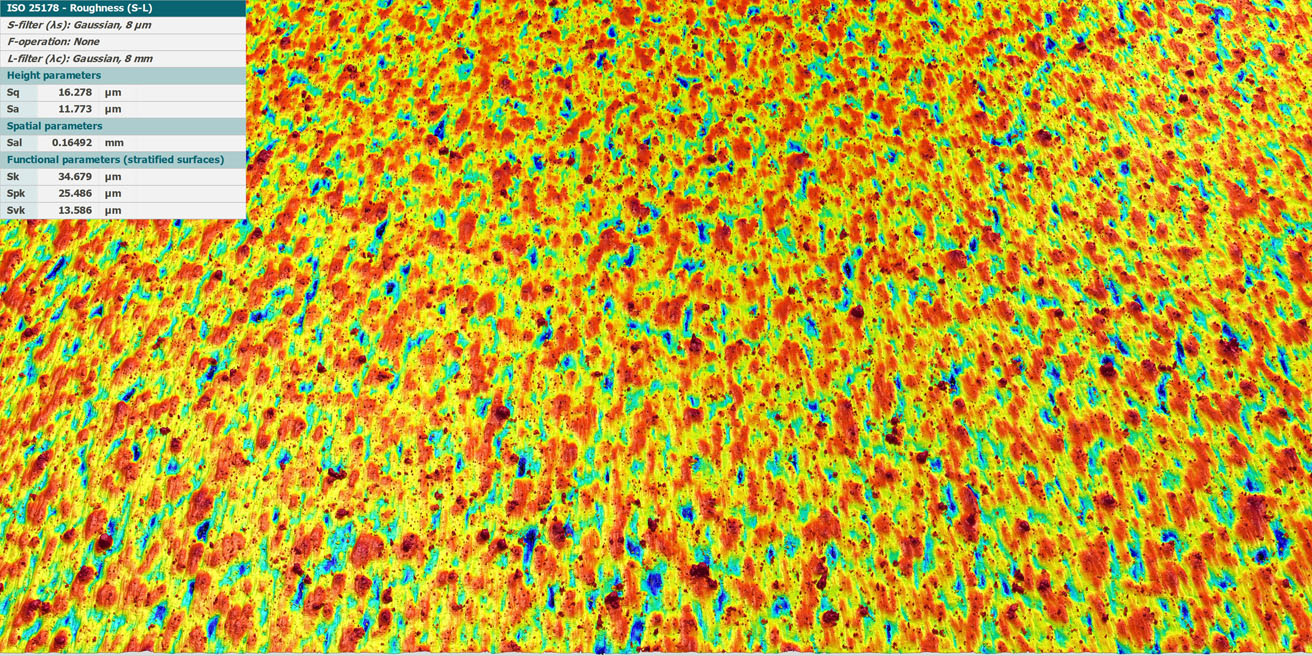
large-area defect detection
Individual raised structures on the 3D printed metal surface have a negative impact on the corrosion resistance of the surface after subsequent painting and must be avoided. The smartWLI firebolt with 5x lens was used for quick, large-area measure-ments.
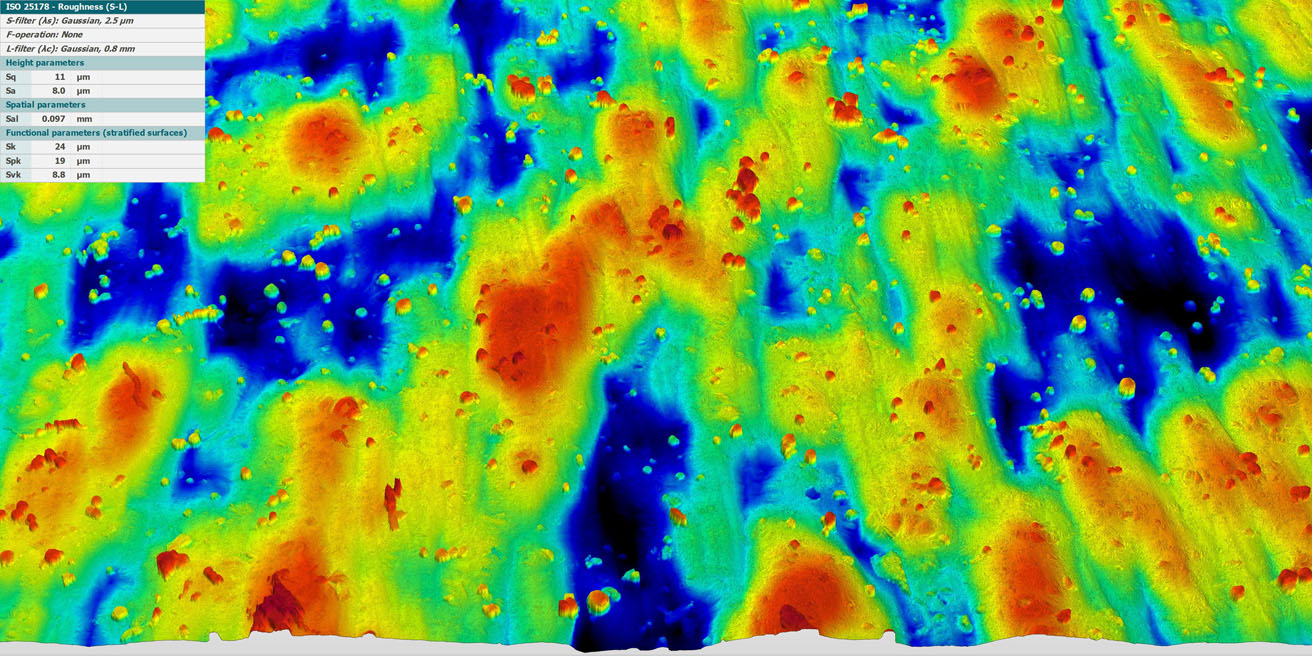
high-resolution measurements
To ensure correct measurement of large-area measurements and to better understand the expression of individual peaks, the area was measured with a 50x objective.
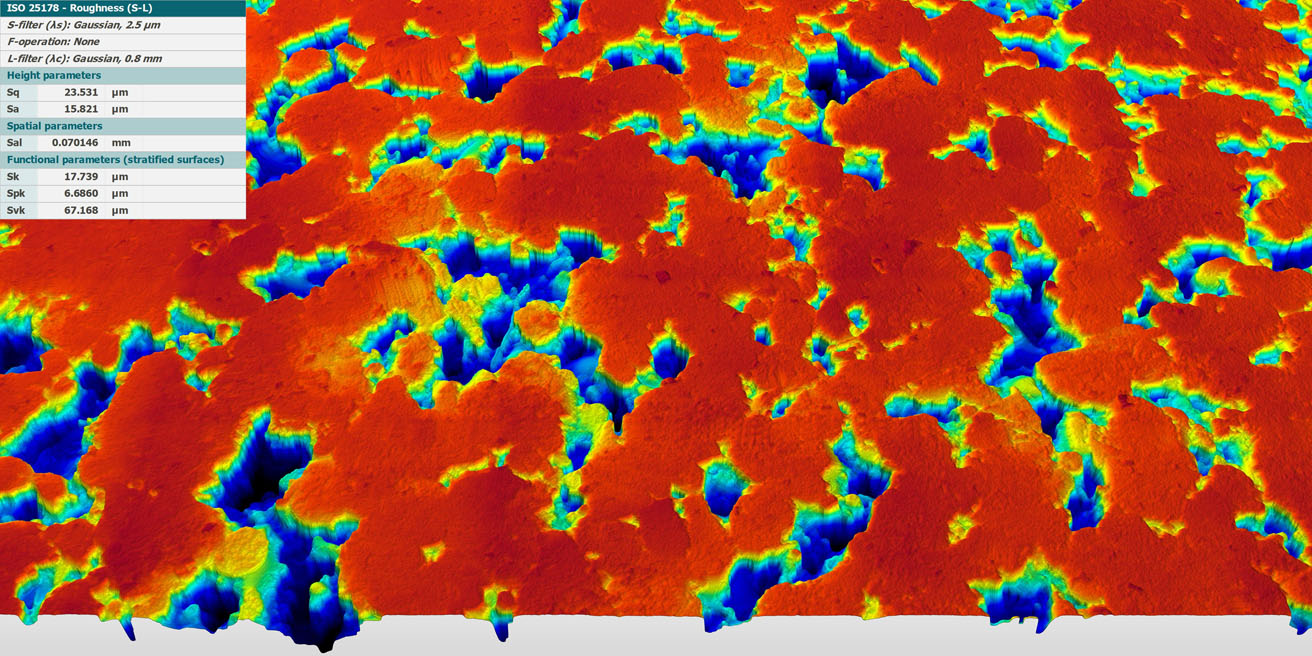
3d printed and slide-ground surface
3D printed surfaces can become very rough at high speeds. These can be smoothed, for example, by vibratory grinding. Corresponding surfaces have struc-tures with steeply sloping edges and require an optical measuring device with a high acceptance angle. The surface was measured with a 20x objective.


