Flatness measurement
| Flatness measurements place high demands on the calibration of the 3D sensor and the stitching process. High-resolution sensors such as the smartWLI compact and the smartWLI firebolt with piezo and a 2.5x lens are used. Height offsets and angular deviations are eliminated in overlapping zones using the smartSTITCH software. Error radii above 10 km are achieved. | contact person: Matthias Liedmann phone: +49 (0) 3677-83710-54 email: sales@gbs-ilmenau.de |
 |
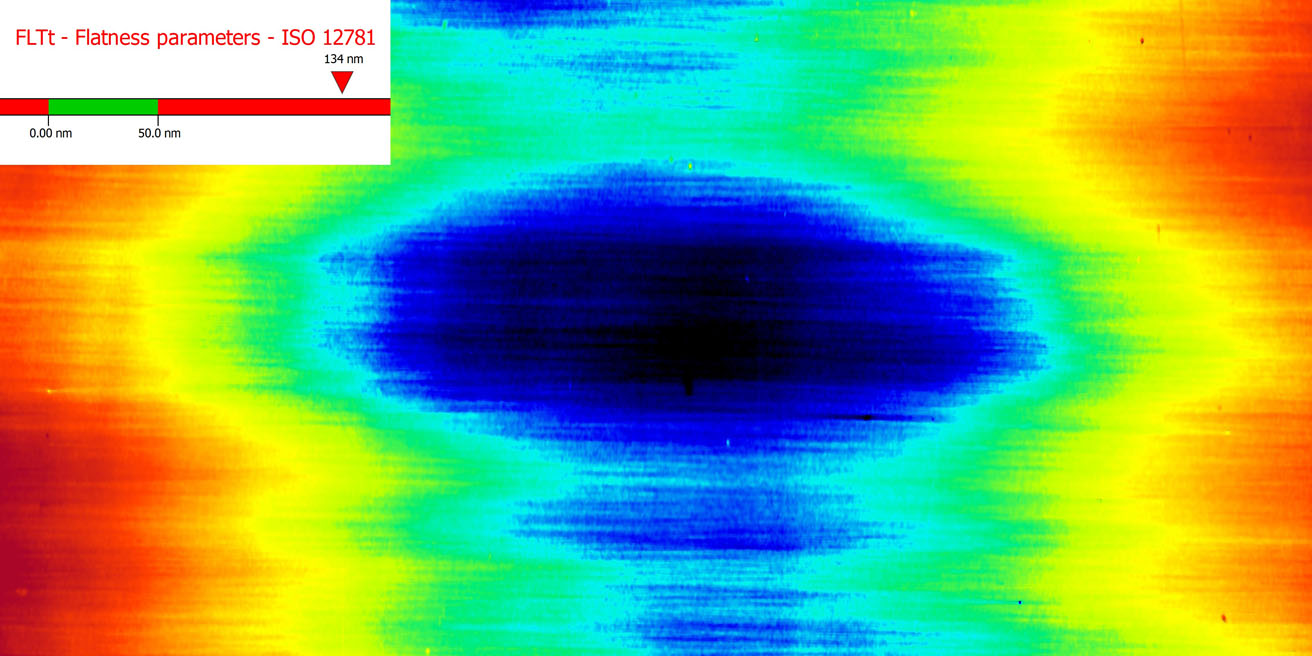
carbide gauge block
With the smartWLI compact used, it was quickly and easily proven that the carbide gauge on the corner was damaged by falling from the workbench and needed to be replaced.
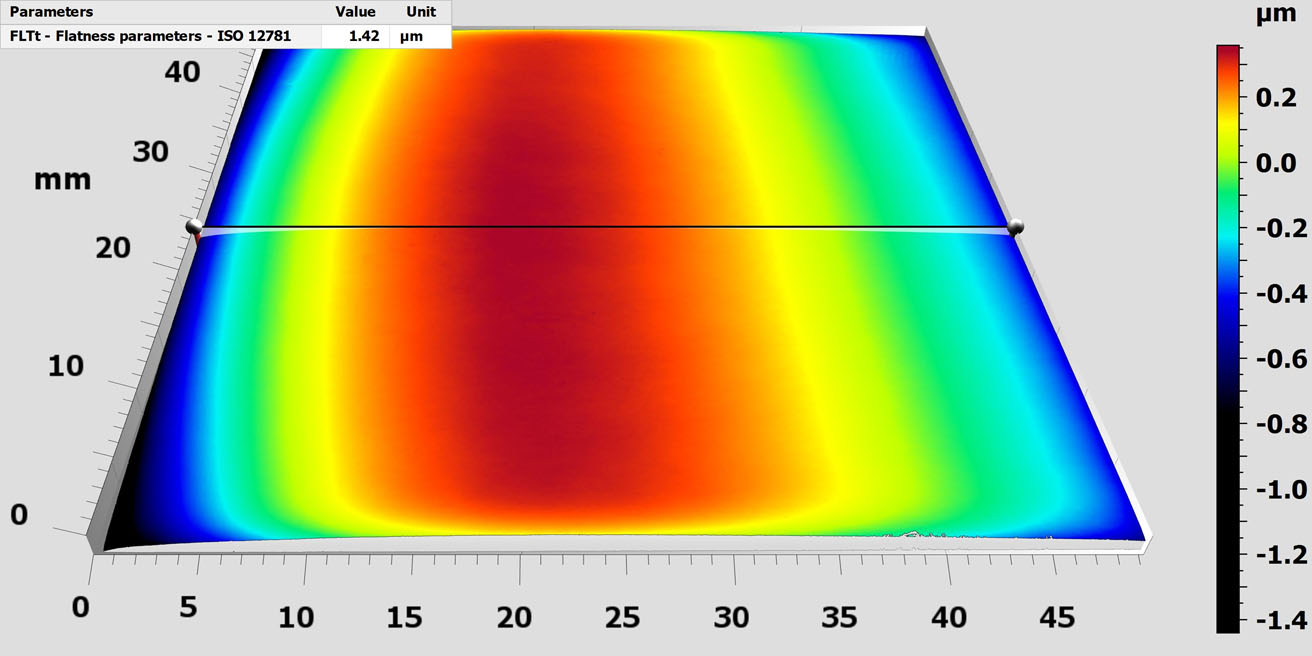
deformation of a filter plate
Higher component flatness variations can cause problems in optical applications and must therefore be specified and measured. The shape deviations provide clues for process optimization.
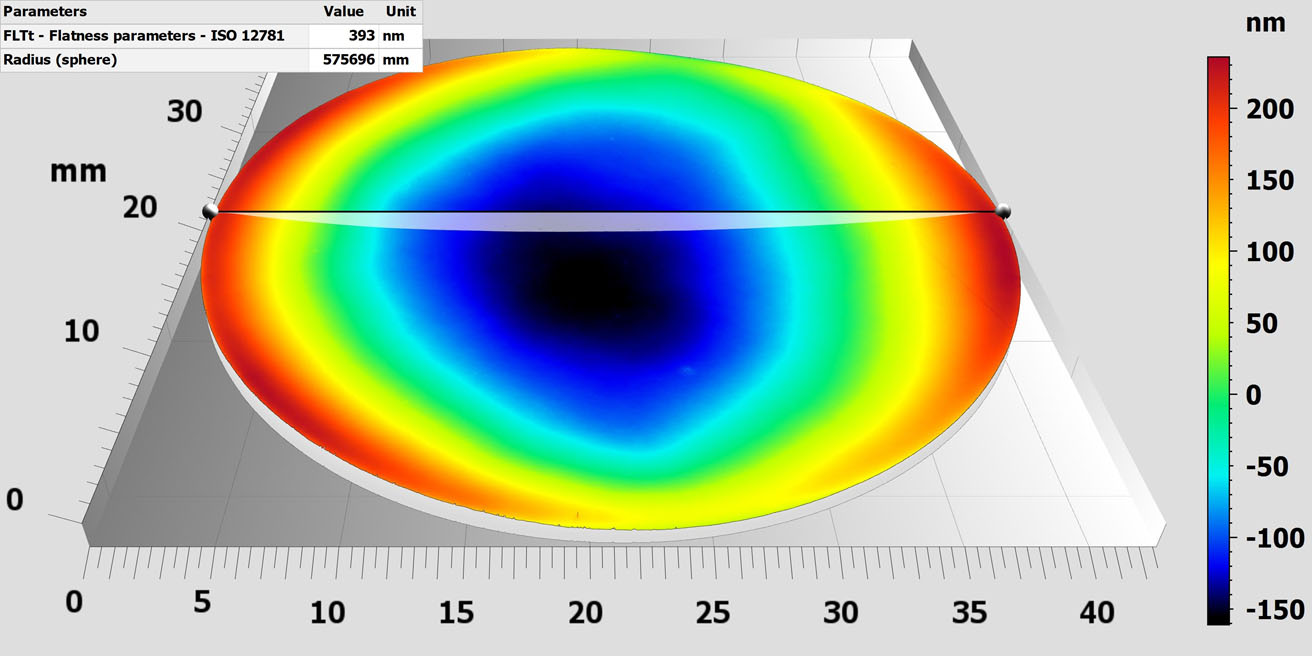
measurement of the coating “stress”
Coating processes and the associated thermal stress cause deformation of the surface of coated glasses. The small deformations with very large radii of curvature must be measured with high precision.Beschichtungsprozesse und die damit verbundene thermische Belastung verursachen eine Deformation der Oberfläche beschichteter Gläser. Die geringen Deformationen mit sehr großen Krümmungsradien müssen mit hoher Genauigkeit gemessen werden.


