Surface Roughness Standards
| The use of surface measuring devices plays a central role in quality monitoring in metal-cutting production. On the one hand, optical 3D measuring devices from the smartWLI series offer many advantages, but on the other hand it is important to be able to correctly reproduce tactile measurement results. GBS uses various traceably certified surface standards to ensure that correct results can be achieved, systems are delivered correctly calibrated and adjusted and measurement uncertainties are reduced. |
contact person: Matthias Liedmann phone: +49 (0) 3677-83710-54 email: sales@gbs-ilmenau.de |
 |
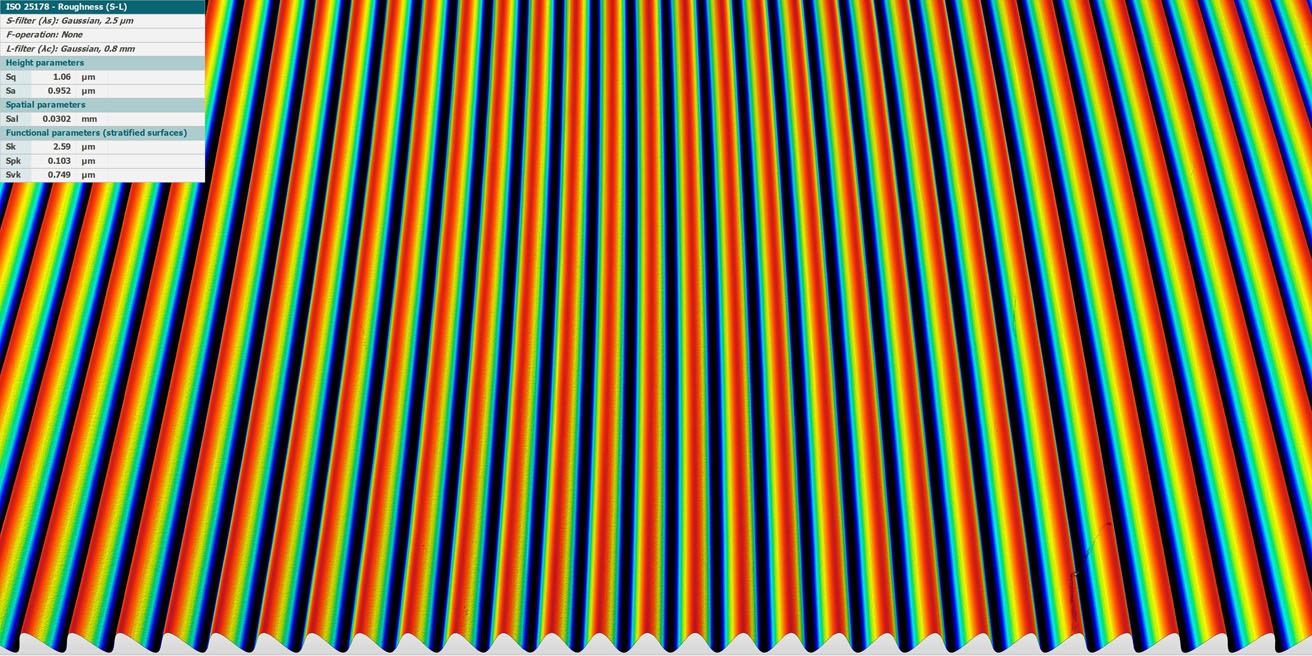
Mahr MSS3
This DKD certified standard has a very smooth and precisely manufactured sinus structure on the surface. The certificate includes values for Ra, Rz and Rmax with low uncertainty. On the one hand, the reproduction of the roughness values requires only a low resolution and simplifies the measurement of the roughness values with tactile measuring devices; on the other hand, it places high demands on the calibration of flatness, linearity and stitching when measuring the roughness values with optical measuring devices.
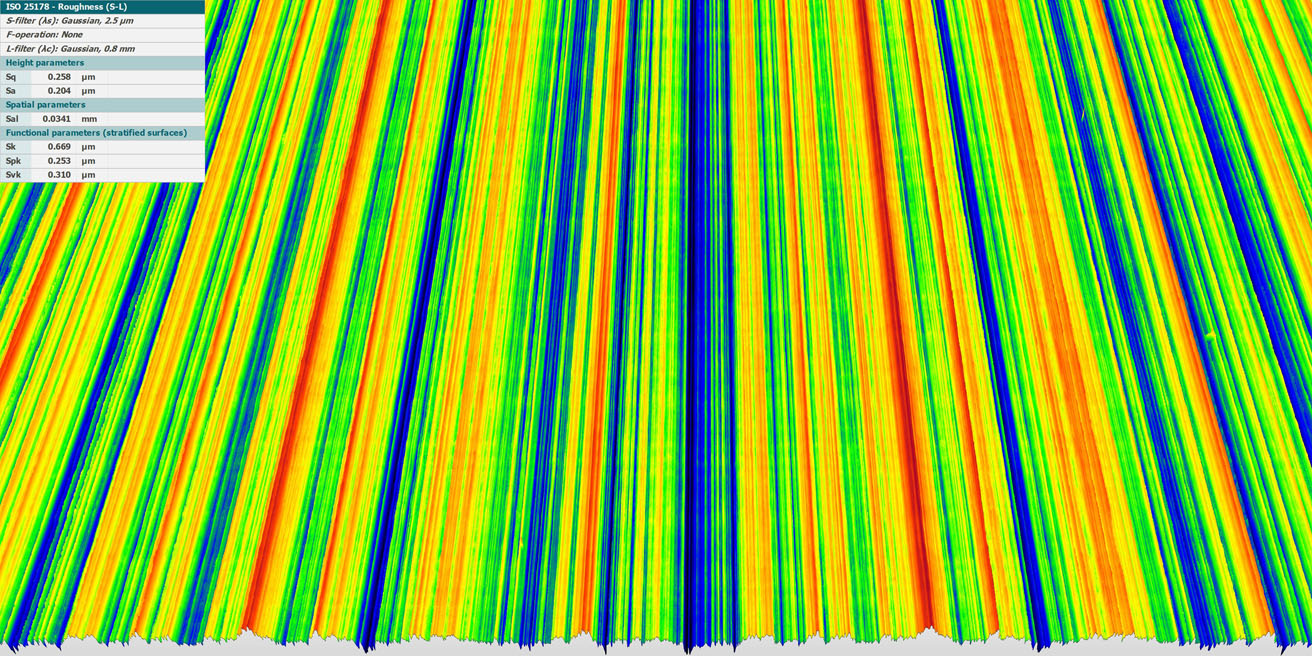
Halle KNT 4058-01
The Halle KNT 4058 has a finely structured surface, which on the one hand is very similar to a ground surface and on the other hand is repeated at regular intervals. This allows for low uncertainty in the certification and measurement of surface characteristics, but places high demands on the resolution of the surface measuring devices used.
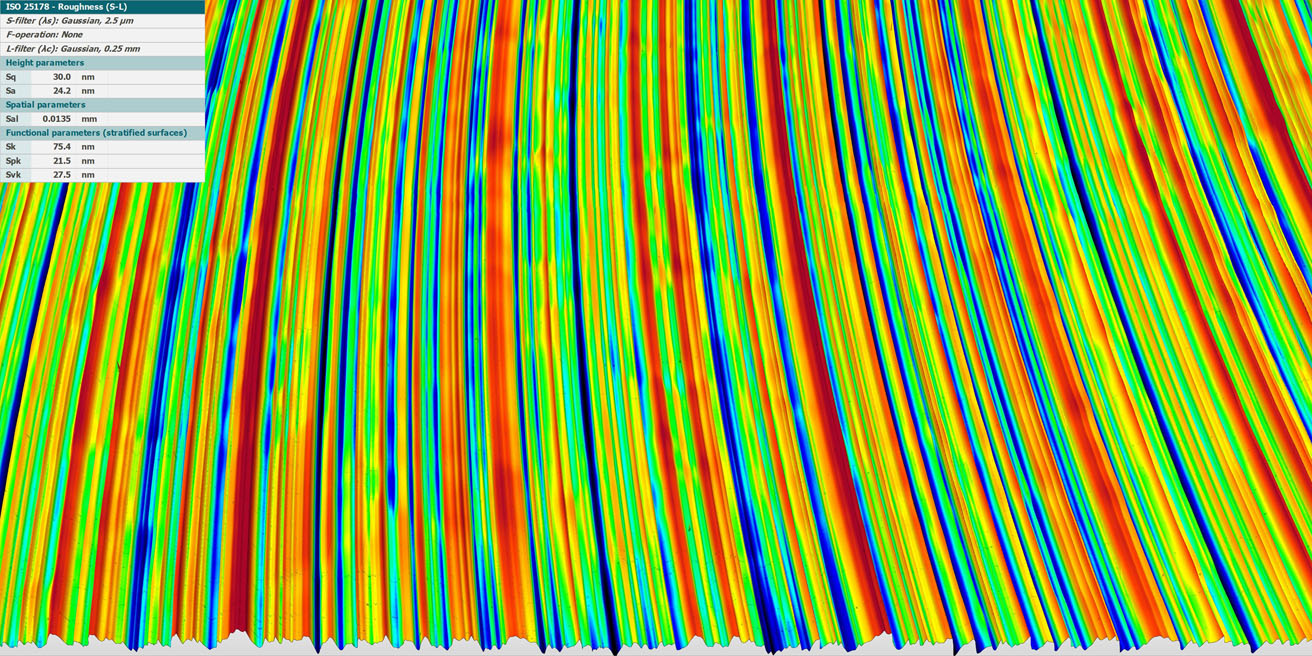
Halle KNT 4070-03
The Halle KNT 4070 has a very smooth surface and therefore places very high demands on the height resolution of the measuring device to reproduce the certified roughness parameters.


